
How to Make a Picture Talk with Any Voice Up to 3 Minutes
 Jennifer
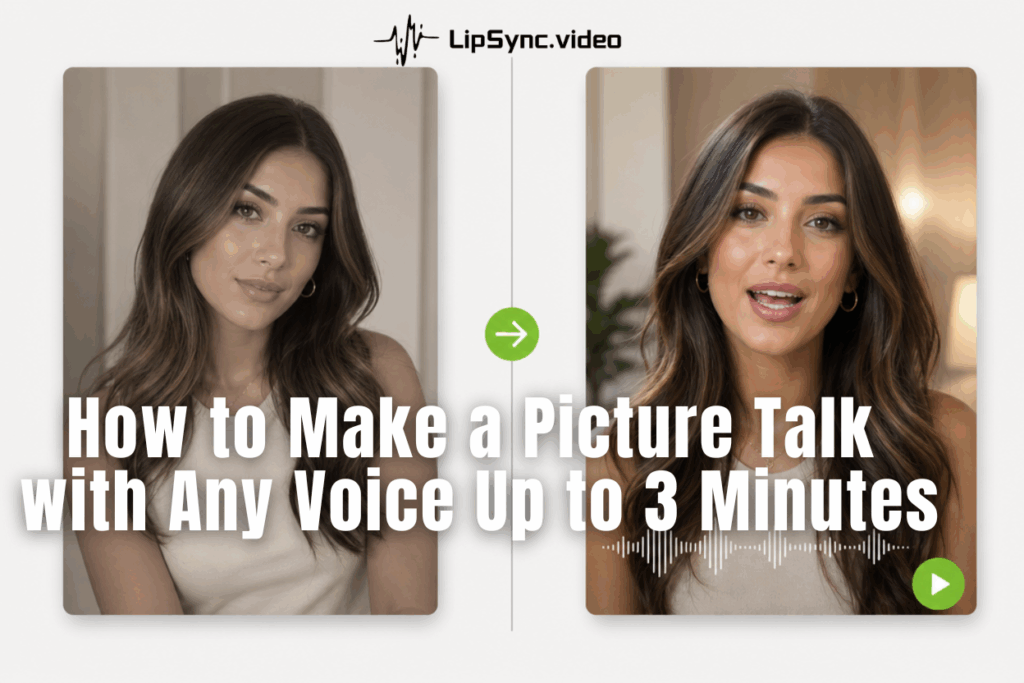
Somewhere between "I have a great idea for a video" and "I actually made the video," most people give up. A camera, a script, decent lighting, someone willing to say the lines out loud without laughing — it's a lot of steps for a 30-second clip. That gap is exactly why so many creators now just make a picture talk instead: one photo, one voice, done.
This guide walks through exactly how it works with Lipsync's talking photo generator — from uploading your first image to publishing a finished, 3-minute video — plus how to clone your own voice, which model to pick, and where this actually gets used in the real world.
Why So Many Creators Want to Make a Picture Talk Right Now
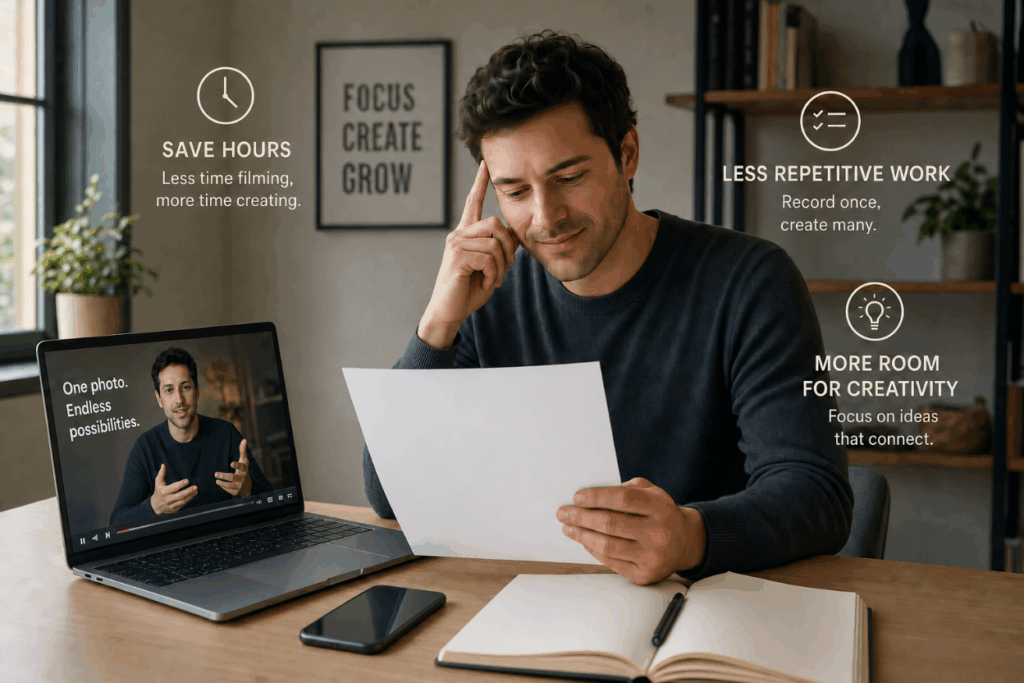
Re-recording the same 15-second product intro for the fifth time — because the lighting changed, your voice cracked, or someone walked into frame holding a sandwich — is a very specific kind of tired. Video used to punish you for not being a professional. Today, anyone can make a picture talk without professional filming skills.
Content creators need to make pictures talk on demand, using whatever image they already have. Overseas marketers need one photo and one script that adapts across five languages — not five voice actors. Remote educators need a consistent "instructor" on screen without booking a studio every time a lesson updates. And sometimes people simply want to make a picture talk for fun—bringing an old family photo or favorite portrait to life.
Different reasons, same ask — make a picture talk without editing skills, without hiring anyone, without a three-day wait. That's the gap a talking photo generator closes.
How to Make a Picture Talk in 3 Simple Steps
An AI talking photo generator collapses the entire process into upload, script, generate. Three steps, and you make a picture talk without touching a single frame of video editing software.
Step 1 — Upload the Photo or Image You Want to Bring to Life
Start with any image — a headshot, a product photo, a brand mascot, an illustrated avatar, even an old family photo. The system reads the face (or the character's facial structure, for illustrated images) and prepares it for animation. There's no need for a studio photo; a clear, front-facing image with decent lighting is usually all it takes to make a picture talk convincingly.
Step 2 — Add Your Script or Choose a Voice
Type out what you want the photo to say, or paste in an existing script. From there, choose a voice — pick from the built-in voice library, or use a voice you've already cloned (more on that in the next section). That pairing of voice and face is really the whole trick behind how you make a picture talk naturally.
Step 3 — Generate and Publish Your Video
Hit generate, and the ai talking photo generator does the rest — syncing lip movement, expression, and timing to the audio automatically. Depending on the model you choose (more on that below), you'll have a finished, ready-to-publish video in anywhere from under a minute to a few minutes. No editing software required — just download and post.
That's genuinely the whole workflow. The complexity that used to live in production — casting, filming, editing, sound mixing — now lives in a model choice and a script.
Clone Your Voice Once, Use It in Every Talking Photo
If you regularly make a picture talk for your brand, consistency matters just as much as realism.
AI voice cloning solves is the easiest way to make a picture talk sound like you, every single time.
1. Upload or Record — Two Ways to Clone
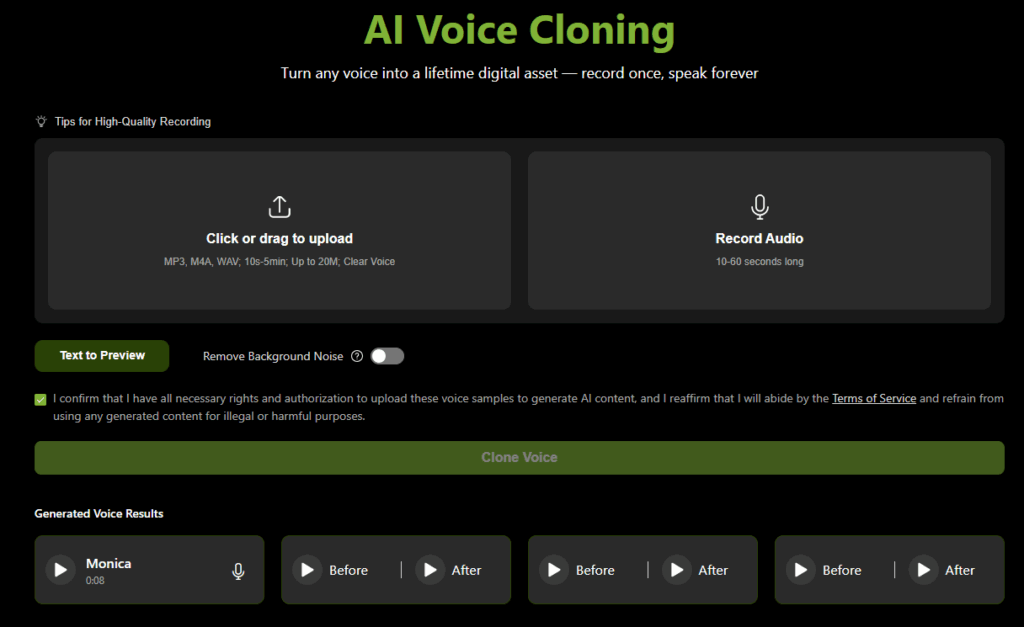
There are two ways to get your voice into the system. If you already have a clean audio recording — a podcast clip, a voiceover you've done before, even a phone recording — you can upload it directly. If you don't have anything on hand, you can record a short sample right in the tool instead, no external equipment required. Either way, the voice cloning process typically takes just a few seconds to complete once the sample is in.
2. Save It Once, Reuse It Across Every Project
Here's the part that actually saves time: once a voice is cloned, it's saved to your library — not used once and discarded. That consistency makes it much easier to make a picture talk across multiple videos while keeping the same voice.
Make Pictures Talk for Every Scenario You Actually Need
Here are some of the most common ways people make a picture talk in practice.
1. Turn a Product Photo into a Talking Spokesperson
For e-commerce sellers and DTC brands without a production budget, hiring a spokesperson for every product launch simply isn't realistic. Instead, a single product photo — or a brand avatar — can be turned into a spokesperson that explains features, announces a sale, or walks through a use case, all without booking a shoot. Change the script, and the same "spokesperson" can cover a dozen different products.
2. Make Photo Talk for Social Media Shorts and Reels
Short-form platforms reward frequency, and frequency is exactly what burns creators out. Being able to make photo talk from an existing image — rather than filming something new every time — means a week's worth of Reels or TikToks can come from a folder of photos and a batch of scripts, written and generated in one sitting.
3. Make Image Talk for Training, Onboarding, and E-Learning
Corporate training and online courses have a quieter but equally real pain point: content goes out of date, and re-filming an instructor every time a slide changes is slow and expensive. Being able to make image talk from a single instructor photo — updating only the script when the material changes — keeps training content current without repeating a full production cycle every time.
Choosing the Right Model to Make a Picture Talk — Talking 1.0 to 4.5 Compared
Not every project that needs to make a picture talk has the same requirements. A quick social media test doesn't need the same rendering quality as a polished brand video, and a 3-minute training clip has different needs than a 15-second teaser. That's why the talking photo generator offers five models, each tuned for a different trade-off between speed, quality, length, and cost.
A practical way to choose: if you're testing a script or iterating quickly, start with Talking 1.0 — it's fast and inexpensive enough to run through several drafts without a second thought. When you're ready to publish something client-facing, Talking 3.0 gives you a meaningful quality jump without a huge cost increase. If a single piece of content needs to look as good as anything your brand has ever put out, Talking 4.0 is built for that moment, though its 40-second cap makes it best for short, high-impact clips rather than long-form content. And if what you actually need is a longer video — a 3-minute product walkthrough, a training segment, an explainer — Talking 4.5 is the only model built to make a picture talk for that long in one generation, which is exactly the use case this article opened with.
Tips to Make a Picture Talk Look and Sound Natural
The technology does most of the heavy lifting, but a few small choices make the difference between a video that looks convincing and one that looks slightly off — the kind of "off" that's hard to name but easy to notice.
- Choose a clear, front-facing photo. Even lighting and a face that isn't turned at an extreme angle gives the model the clearest information to work with, which shows up directly in how natural the final lip-sync looks.
- Write scripts the way you'd actually speak them. Long, comma-heavy sentences read fine on a page but sound stiff out loud. Short sentences and natural pauses tend to make a picture talk far more convincingly than a script written to be read rather than heard.
- Test with a cheaper model before you commit. Before spending credits on Talking 4.0 or 4.5, run the same script through Talking 1.0 first. It's fast enough to catch pacing issues or awkward phrasing early, so the final, higher-cost generation is a one-and-done render instead of a guessing game.
- Stitch multiple clips into one longer video. Every model has a length cap — even Talking 4.5 tops out at 3 minutes. For anything longer, like a full course module or a multi-part product walkthrough, generate several clips using the same photo and the same cloned voice, then stitch them together in sequence. The viewer sees one continuous presenter; behind the scenes, it's just a few clips joined end to end.
- Match the model to the moment, not just the budget. It's tempting to always default to the fastest, cheapest option, but a flagship brand video deserves Talking 4.0's visual quality, and a 3-minute explainer genuinely needs Talking 4.5's length — using the right model for the job matters as much as the script itself. Get that match right, and you'll make a picture talk look every bit as polished as the model promises.
Ready to Make a Picture Talk? Start with Your First Photo
You don't need a camera, a script supervisor, or a second take. Upload a photo, add your voice — your own cloned voice, or one from the library — and in a few minutes you have a video ready to publish.
If this is your first time, there's no need to overthink the model choice: start with Talking 1.0 to get a feel for the workflow, then move up to Talking 3.0 or 4.0 once you're ready to publish something polished — or straight to Talking 4.5 if a longer video is what you're after. Lipsync's talking photo generator is built to make that first video easy, and every one after it faster.
Try it now and make a picture talk with your very first photo.