How to Direct Multi-Shot Story with Kling AI Image to Video
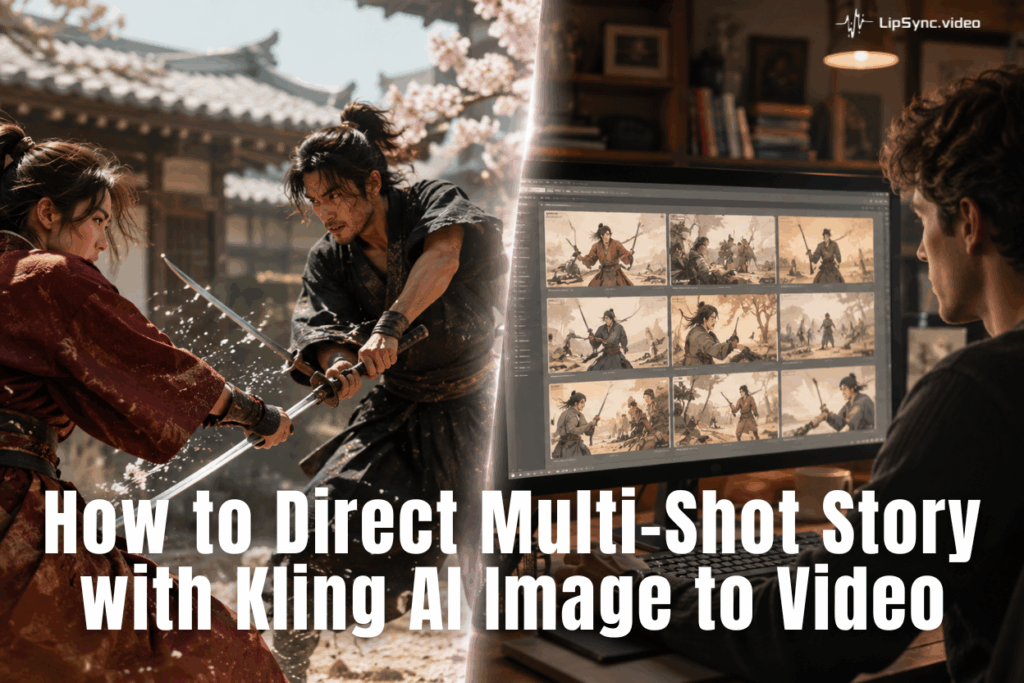
Not long ago, making a video that actually looked like a film meant hiring a crew, renting a location, and spending a budget that made your accountant cry. Today, you upload an image, type a few lines, and watch a cinematic sequence unfold in real time.
That's not hyperbole. That's Kling AI Image to Video — and with Kling 3.0, the gap between "I have an idea" and "here's the video" has never been smaller. Pair it with a tool like lipsync.video for voiceover, and you have a full production pipeline that fits in a browser tab.
The question is no longer can AI make great video. It's whether you know how to use it well enough to tell a story that actually lands. Multi-shot storytelling — the kind built from wide shots, close-ups, and deliberate transitions — used to be the part where most AI video fell apart. Generate one clip, download it, generate another, hope they match, edit, repeat, give up.
Kling AI Image to Video changes that. This guide shows you exactly how.
What Is Kling 3.0 Multi-Shot?
Kling 3.0 is the latest generation of Kling AI Image to Video model — and its most significant upgrade is multi-shot generation.
Kling 3.0 lets you generate up to six distinct shots in a single run. Each shot can have its own framing, camera angle, duration, and on-screen action. Kling AI Image to Video keeps your characters, lighting, and environment consistent across all of them — which, if you've ever tried to manually stitch AI clips together, you know is a miracle in its own right.
Plan Your Multi-Shot Video Before Using Kling AI Image to Video
Here's the honest truth: the biggest difference between AI video that looks professional and AI video that looks like an AI made it is almost never the tool. It's the planning.
Kling AI Image to Video is powerful, but it's not psychic. If you sit down and start generating without knowing what story you want to tell, you'll spend twice as long iterating on prompts that could have been avoided with 10 minutes of thinking upfront.
Once you have your sentence, ask: what are the three to six most visually important moments in this story? Those are your shots.
1. Map your shots like a storyboard
Even a rough text storyboard helps enormously. You don't need to draw anything — just list each shot with three pieces of information:
- What's in the frame (wide street at dusk, close-up of hands opening an envelope)
- Camera angle or movement (low angle, dolly in, static)
- Duration (the total is 15 seconds, so plan accordingly — e.g., Shot 1: 3s, Shot 2: 2s, Shot 3: 4s)
This maps directly to how Kling AI Image to Video Custom Mode works. The more specific your pre-planning, the less time you spend regenerating.
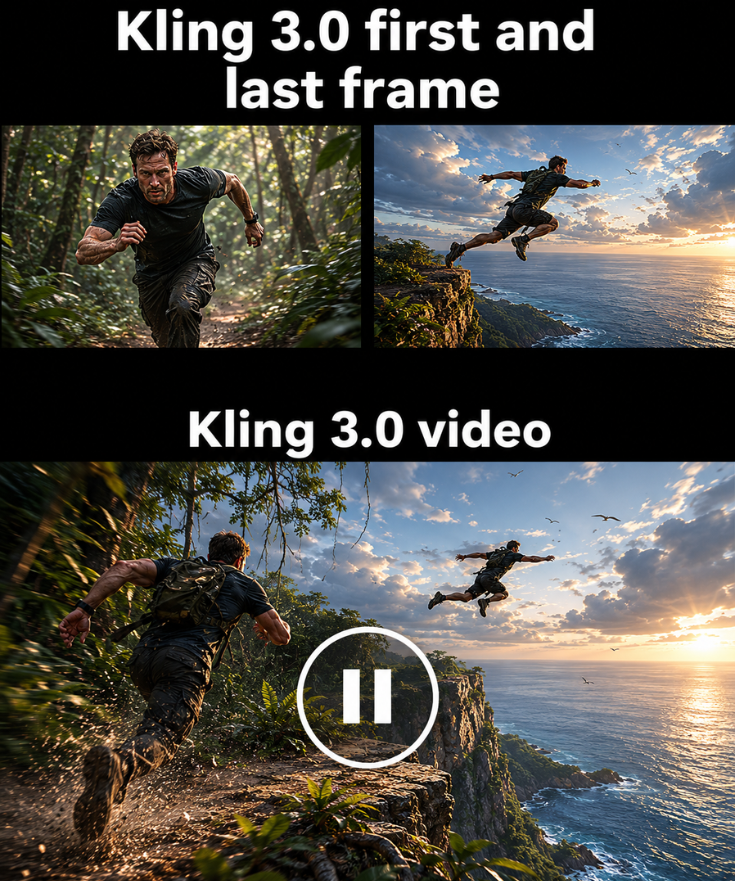
2. Prepare your First or Last Frame
If your video features a specific character, product, or location, decide this before generation. Kling AI Image to Video let reference image to lock in a character's appearance across all shots. — so the quality and composition of your starting image matters more than people expect. Use a high-resolution image with a clear focal point. Avoid busy backgrounds if your subject needs to stay consistent.
How to Generate Each Shot with Kling AI Image to Video
With your plan in place, it's time to actually generate. Here's the step-by-step process for using Kling 3.0 to create a multi-shot video.
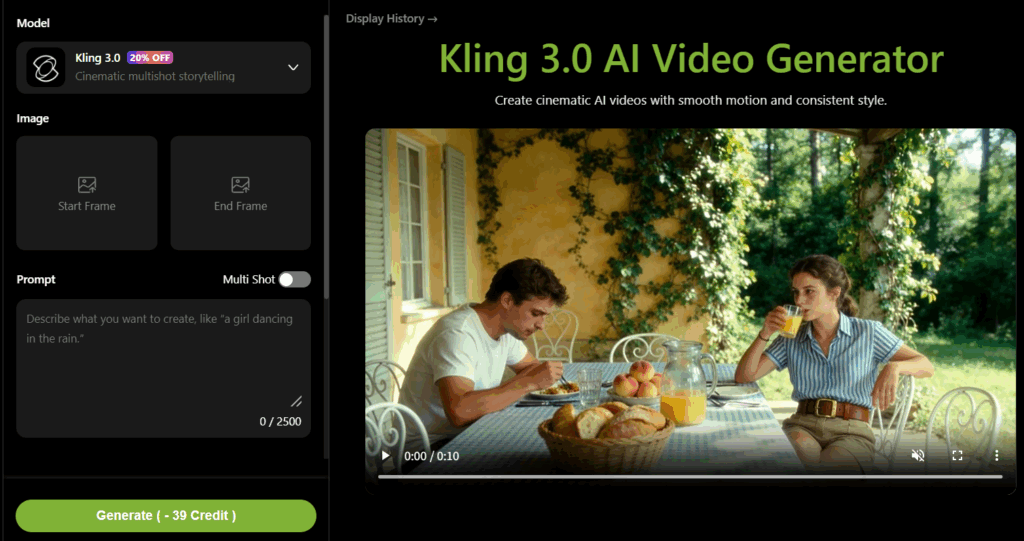
Step 1 — Input Your Image and Creative Script
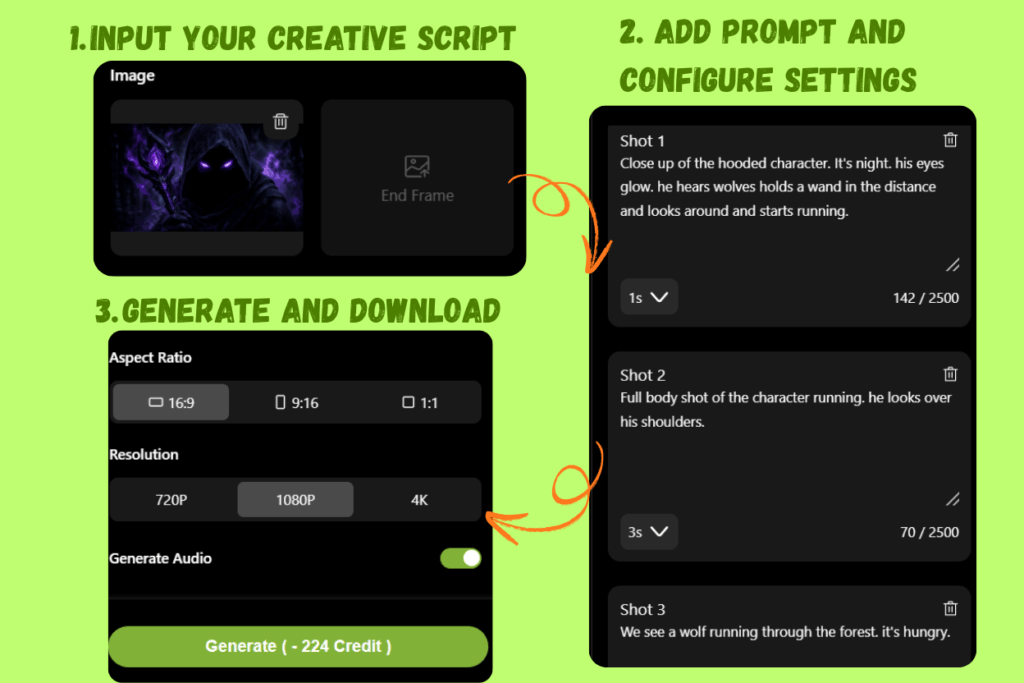
Upload a reference frame as your first keyframe — this is how Kling AI Image to Video anchors the visual identity of your entire sequence. The characters, lighting style, color palette, and environment all flow from this starting image. If you want tighter control over where the sequence ends, upload a last keyframe too, and the model will generate the motion in between
your subject and what they're doing, the mood and atmosphere (lighting quality, time of day, color tone), Each shot prompt is its own directive — the more precise it is, the less you'll need to regenerate
Prompting Kling AI Image to Video is different from prompting a text generator. You're not describing what you want to read — you're describing what a camera sees, and when, and how it moves. Your subject and what they're doing, the mood and atmosphere (lighting quality, time of day, color tone), Each shot prompt is its own directive — the more precise it is, the less you'll need to regenerate
The structure that works:
For Kling 3.0 Custom Multi-Shot Mode, use this format for each shot:
[Shot N]
[Subject action + environment detail]
[Camera movement if any]
[Style/lighting modifier]
Example prompt (3-shot sequence):
[Shot 1]
A young woman in a red coat walks alone through a fog-covered cobblestone alley at dawn. Camera slowly pushes in. Cinematic color grade, desaturated blue tones. Wide Shot, 4s

[Shot 2]
She stops and looks up at a glowing window above a bookshop. Static camera. Warm amber glow from window contrasts cold street light. Medium Shot, 3s

[Shot 3]
Her gloved hand reaches for the door handle. Extreme close-up, shallow depth of field. Tension building. Close-Up, 3s
Notice what this prompt does: it gives Kling AI Image to Video a location (cobblestone alley), a character action (walks, stops, reaches), a specific camera type for each shot (wide, medium, close-up), a movement cue (pushes in, static), and a visual tone (desaturated, cinematic). Every element is accounted for.
Step 2 — Customize Duration and Framing
Once your script is in, two decisions shape how your Kling 3.0 video actually generates: how long each shot runs, and what shape the frame is.
Duration in Kling AI Image to Video must be no longer than 15 seconds. That's tighter than it sounds, so think like an editor before you generate: your wide establishing shot probably needs 3–4 seconds, your medium shot 2–3, and your emotional close-up deserves the most time — 4–5 seconds if the sequence allows. Rushed shots feel anxious. Shots with room to breathe feel cinematic. The duration you assign to each moment tells the viewer what to pay attention to.
Step 3 — Generate, Review, and Export
Hit generate. Kling 3.0 renders cinematic motion with synchronized audio built in. Watch it through once without stopping. Get the overall impression. Does the story land? Does the pacing feel right? Does the audio environment match what's on screen?
Common Mistakes When Using Kling AI Image to Video for Multi-Shot Videos
Let's talk about the things that quietly ruin multi-shot videos. Most of them are fixable — but you have to know they exist first.
Mistake 1: Prompts that are too vague
"Beautiful cinematic video of a person walking" tells Kling AI Image to Video almost nothing useful. Where are they walking? What time of day? What's the camera doing? What does the person look like? Without specifics, the model fills in gaps randomly — and random is rarely what you wanted.
Fix: Use the shot structure described. Every shot should specify subject, action, environment, camera type, and at least one lighting or tone descriptor.
Mistake 2: Ignoring shot duration balance
The 15-second total sounds generous until you realize that six shots at 2.5 seconds each don't give the viewer's eye time to register what they're looking at. A sequence that rushes through every shot feels anxious rather than cinematic.
Fix: Let your most important shot have the most time. If the emotional core of your sequence is a close-up, give it 4–5 seconds. Use shorter shots for transitions and establishing context. Think like an editor, not a generator.
Mistake 3: Using a low-quality or inconsistent reference image
You cannot generate a 4K cinematic sequence from a 480p blurry screenshot. Kling AI Image to Video works from what you give it — the quality ceiling of your output is directly related to the quality of your input.
Fix: Use high-resolution, well-lit, clear reference images. If you don't have one, generate your starting image with Chat GPT Image 2 in 4K mode first, then use that as your video input.
Final Thoughts — Every Creator Is Now a Director
The director's chair used to come with a crew, a location, and a post-production timeline attached. Multi-shot storytelling was a craft that lived behind studio doors.
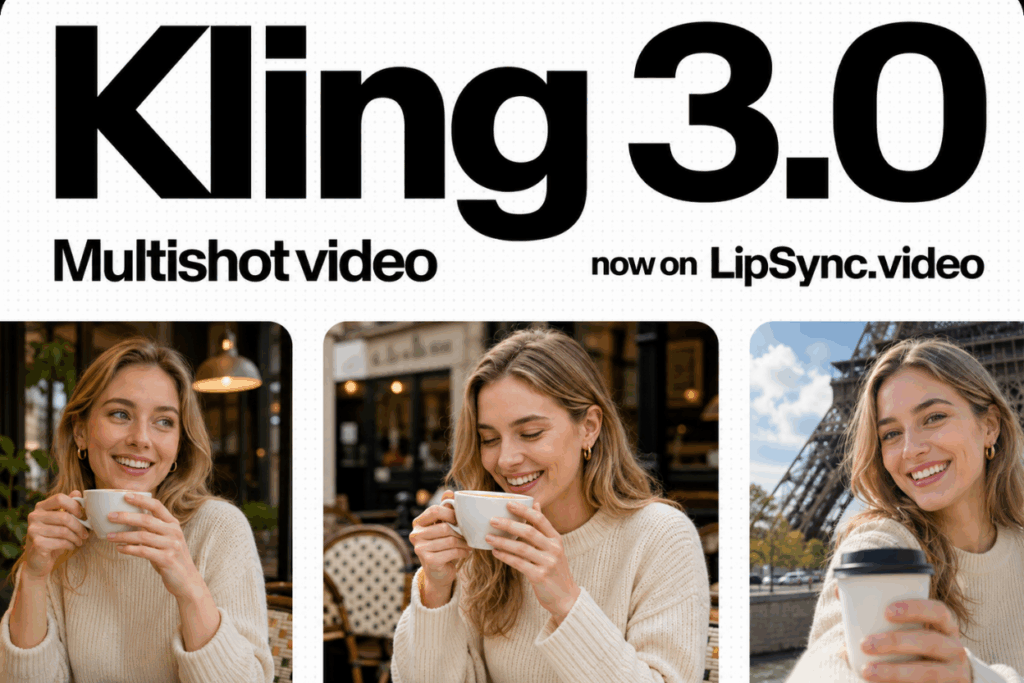
Not anymore. With Kling 3.0 on lipsync.video, the director's chair is yours. Upload your first frame, structure your shots, write with intention — and the cinematic sequence you had in your head becomes something you can actually watch.
The tools are here. The story is yours.